The Moving needle
I have joined a group of textile artists based on the South coast.
We plan to exhibit in the Brighton Festival in May, 2025.
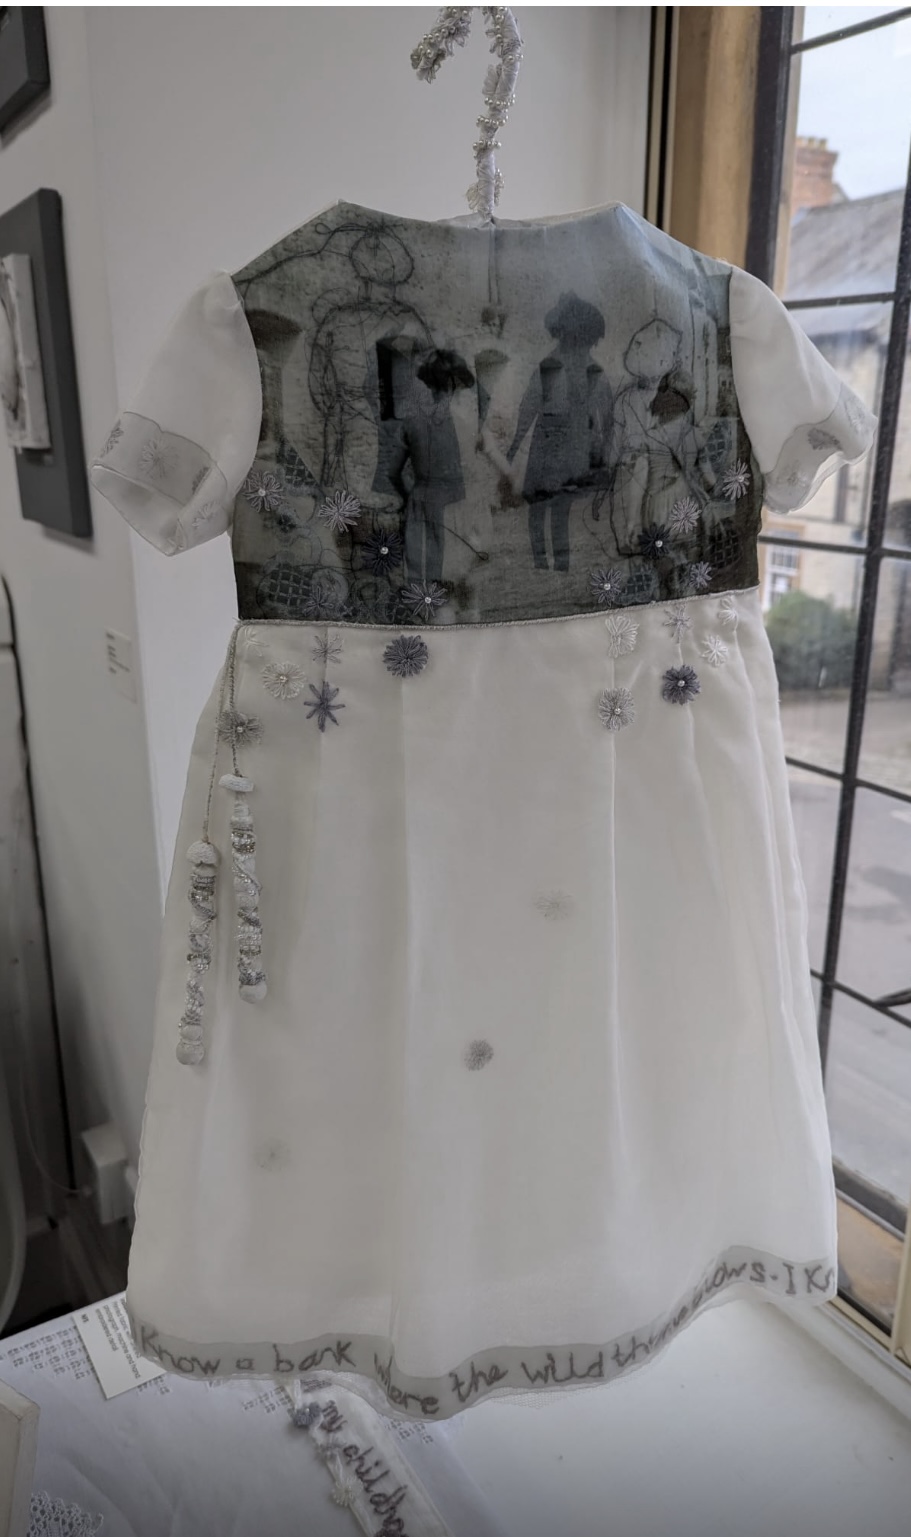
Our theme is What Lies Beneath, I have decided to create a piece of work inspired by underwater.
I have been inspired by some beautiful photographs [ images from The Ocean Realm The National Geographic Society] and work by artists I admire.
Sketchbook pages


Building a palette of colour with Katherine Diuguid

Inspirational ideas from beautiful textile pieces and collages created by Alexandra Waylette, Chelle textiles and Mark Hearld:


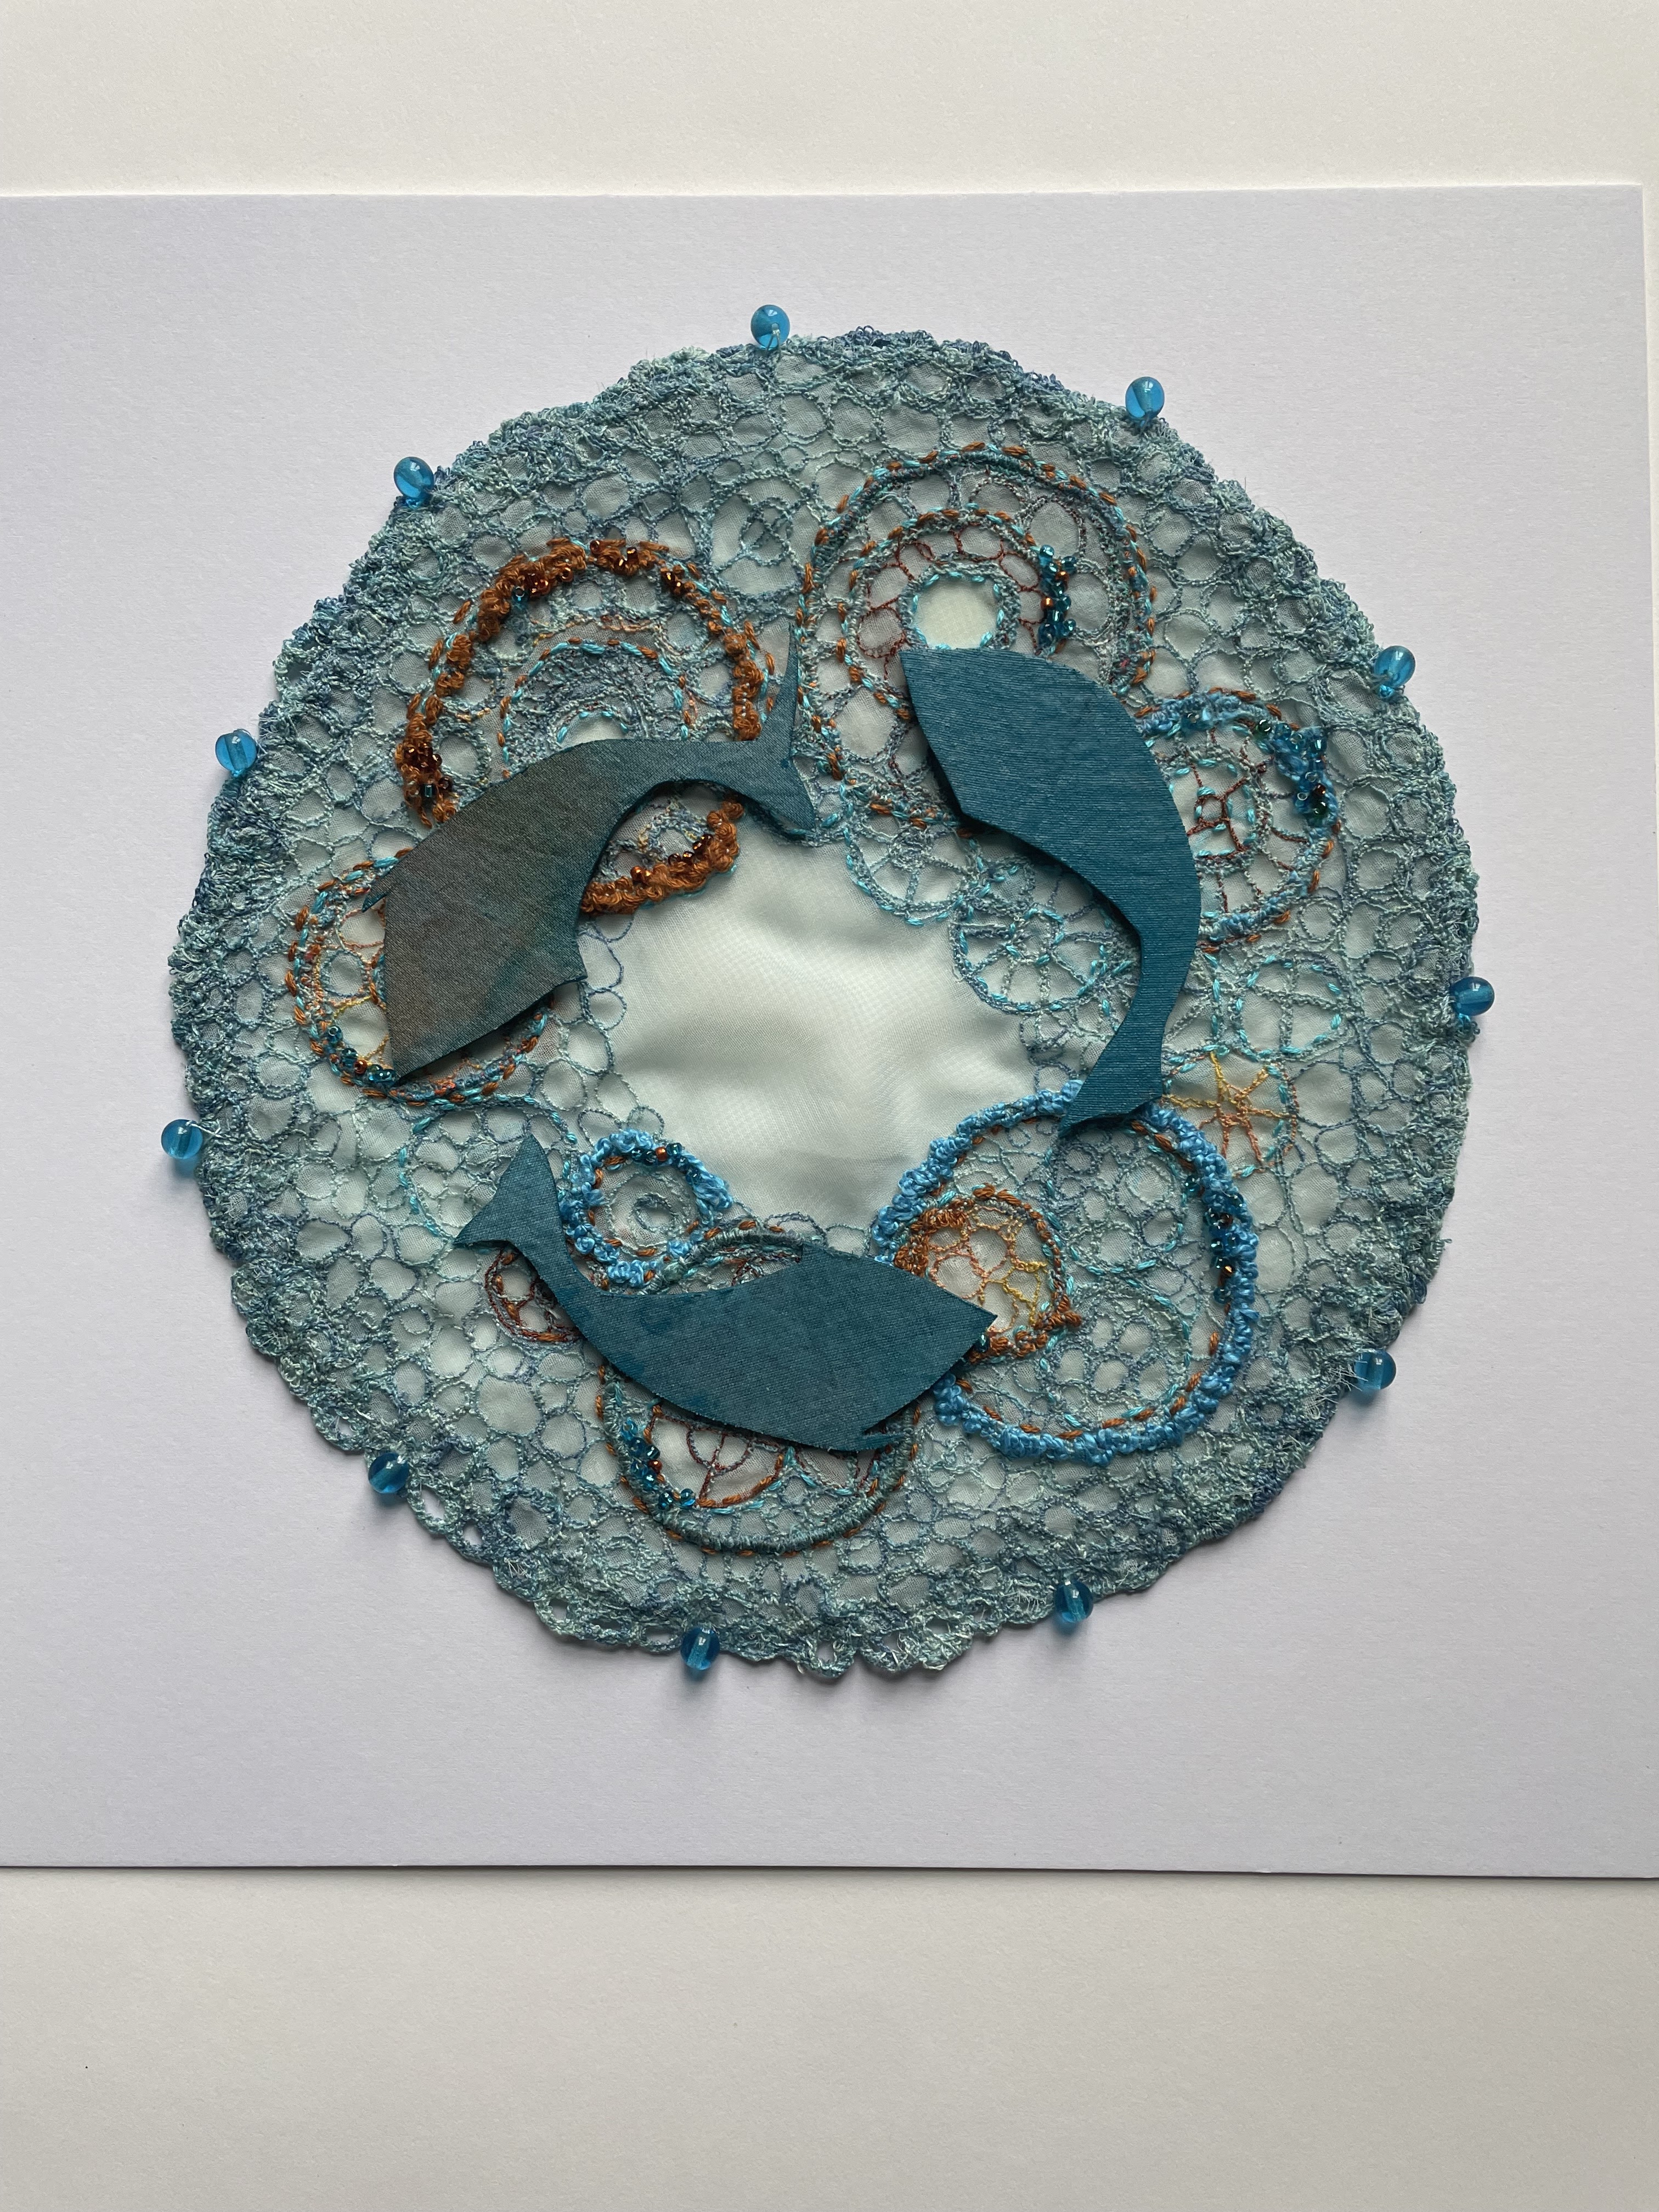
Resolved ideas:
Watery effects created with water soluble fabric and free machine embroidery, background painted, printed and stitched, fish created with space dyed silk on vilene backing. Beaded detail.
Set of three:


Detail:

Further ideas:
Initial pencil drawing

Added colour and playing with free machine embroidery worked on sheer fabric and water soluble fabric to support

Embroidered design worked on an embroidery hoop and addition of hand stitching:

Finishing touches on the hoop and sewing machine:

And thinking of fish:

Less is more:
Resolved and framed:

Hidden Delights:
Handmade paper pulp layered with vintage textile


Drawn thread work
We were ispired by artist Tracy L Franklin to learn Drawn Threadwork techniques:

Organic blanket stitch experiments
Inspired by artist Mirjam Gielan:

Chain reaction
A member of The Moving Needle took a piece of inspirational art work and produced a textiles piece in response before passing it on to the next person and so on until we had a body of work and the big reveal at the end of the run.
This is my piece:
Transfer paints printed onto synthetic velvet with hand stitching beaded detail

Detail: