Thursday 21 March 2019

Chapter 3 Free machine stitchery

A series of free machine stitchery samples are used in this chapter to demonstrate different textural effects.

The idea is to densely cover small spaces of fabric [about 3cms] using words describing different effects of rhythms to inform the stitching, especially those inspired by my drawings in chapter 1.
I've done a quick brainstorm of words and  sketched some drawings below to represent those that spring to mind and posted my sketchbook page below.

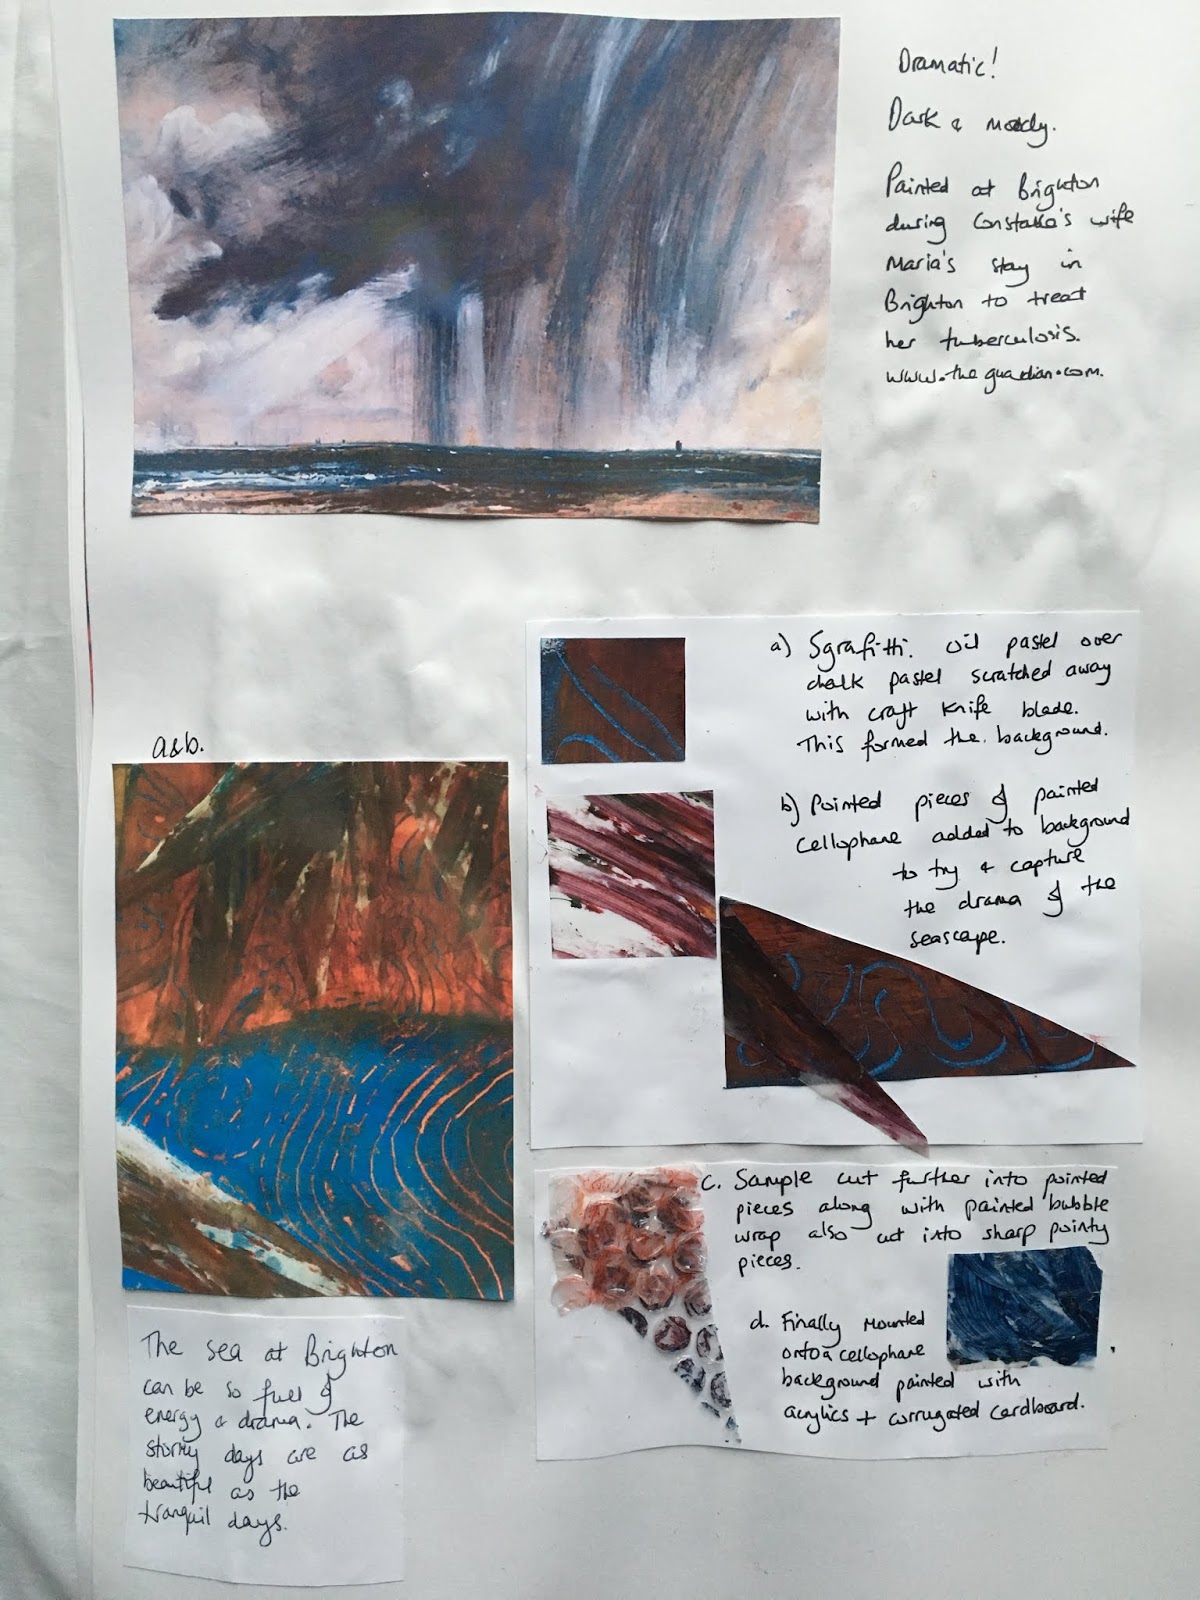
 I'll talk about each of the samples individually as I go.
I've worked on calico which I've stretched in an embroidery hoop and have used a size 100 needle throughout.


Sample 1 Straight stitch using a polyester machine sewing thread. Equal tensions on upper and lower bobbins


Sample 2
Straight stitch with whip stitch which is achieved by tightening the upper tension and loosening the lower bobbin.
I used  polyester sewing threads, blue thread on top bobbin and yellow below. Top tension slightly tightened and lower bobbin tension loosened.
I keep a separate bobbin case especially for whip stitch so I can fiddle with the tension without jeopardising the one I use for normal sewing.
I changed over the colours half way down [my bobbin thread ran out!] but it was good to see the difference.
I've always loved whip stitch and it's serendipitous qualities and textures. Lovely subtle, soft and calm effects in this sample.


Sample 3
Zig zag stitch with whip stitch [bobbin tensions as above] and polyester sewing thread. Red on top bobbin and blue below [ reversed half way down]. Wonderful dramatic contrasts and textural effects.


Sample 4
Part straight stitch, part zigzag but this is cable stitch which means that the underside becomes the right side and brings some lovely unexpected results when turned over to reveal the stitching below.
Polyester thread. I've adjusted the upper tension [lower tension normal]  as I worked to give varied effects. Blue thread on top bobbin and red below.


I've added the upper [wrong side] too as this was also lovely and interesting to look at.


Sample 5
Cable stitch worked with a range of threads on the lower bobbin. The tension of the lower bobbin was loosened according to the effect I was hoping for. Polyester sewing thread used on top throughout.
Top row. From left: a. no lower bobbin tension [screw removed] with stranded cotton and straight stitch.
Lovely dense and textured effect although my sewing machine not happy!;
b and c. Stranded cotton and straight stitch
Row 2: a. Stranded cotton and straight stitch. b. zigzag c. tapestry wool, slight zigzag stitch
Row 3: a. Boucle yarn and zigzag b. tapestry wool and straight stitch c. with zigzag
Row 4: a. Mohair yarn with zigzag b. and c. tapestry wool and zigzag
Row 5: a. and b. Cotton yarn with zigzag c. straight stitch

I love the wonderful textures achieved with cable stitch and shadows resulting from the build up of stitching gives interesting contrasting effects.

I also tried using a chenille yarn but my machine wouldn't tolerate the thickness of the yarn even with the loosest bobbin tension


A very enjoyable chapter and I look forward to applying the stitching to fabrics in later chapters.


Monday 11 March 2019

Chapter 2 revisited

Sian made some suggestions to take a couple of my designs further which I have welcomed. 
I've added the originals research photos and then the reworked samples below.

Sample 2.4
Sian suggested I tear the vertical strips rather than cut them and space them less equally.
I was unable to tear the polythene layers of  my final design so I decided to print a copy of the original at stage b. and tear that vertically and arrange them less equally.


Close up:


I also decided to see what would happen if I tore the strips diagonally, this produced a very satisfying result which better represented the beautiful red sunrise sky. 


Close up:


Sample 2.5
Sian suggested I introduce some light and dark contrast at the bottom of the design; I also decided to try cutting the sample further above the horizon to add definition to the sky. 


I'm very pleased with these results as they better represent the original research photograph


Wednesday 6 March 2019

Chapter 2 Designing with shapes and layers

The brief for this chapter was to select very simple shapes identified in my research photos of water and sky.
These shapes had to appear to follow a pattern, albeit sometimes indefinite. It was, however, important to note qualities of the different rhythmical patterns.

The first stage was to make a collection of decorated papers using the methods covered in the last chapter featuring the colour schemes of my photographs:

Papers blue tones:


Papers red tones:


Papers yellow tones:


I then made simple torn or cut shapes to translate those observed in my photographs and attached them to a background paper.

Following this I tore or cut up the first sample into similar or identical shapes and applied these to a different background. 
These were then composed differently and moved around on a further background to create effects more like the sea or sky or to produce an interesting variation on the original.

I have uploaded my sketchbook pages with all the details of the processes involved but because the quality of the printing is poor I have added the photographs of each stage here too

Sample 1 Waves


1a


1b. I'm really pleased with this final collage as it really seems to portray the rhythm and swelling of the waves.


Sample 2 Ripples


2a 


2b


2c Final piece

I cut this a third time having been to my weekly swim and noticed the complexity of ripple reflections in the water so cut it further!


Sample 3 Yellow morning sky


3a


 3b


3c I decided to cut this sample up into squares to try and demonstrate the random patterning in the sky:


3d And then I re-arranged the squares to represent the changing patterns of the morning sky:


Sample 4 Red sunrise


4a


4b


4c Cut into vertical strips for final collage


  Sample 5 John Constable Rainstorm over the sea.


5a


5b Dark and moody sea and sky


Sample 6 Turner. Sea and sky English coast


6a


6b Much more movement after the second cutting and re-arrangement of papers:


Sample 7 John Constable The coast at Brighton:


7a


7b


7c I decided to tear horizontally to emphasise the horizon and to bring the heavy clouds forward and over the sea:


Sample 8 Brighton sea and sky. For this sample part of the brief was to mount the papers onto foil.


8a


8a


8b


Sample 9 Icy puddle - Iceland


9a Frottage method worked on tin foil:


9b


9c


9d I felt the previous sample looked a bit boring so cut around some of the upper shapes to break it up a bit and to represent the crackled ice patterns.


This completes chapter 2, I worked a lot of samples and got a bit carried away! It was fun and fascinating to develop lots of interesting effects.


The following samples are some worked for previous work but are relevant to the sea and sky topic so I felt I'd like to include it here.


Sea and sky worked with a monoprint torn in strips over the sea:


Monoprint and printing with edge of a credit card to depict the West Pier:


Artwork torn into strips and rearranged to show the demise of our beautiful West Pier as it surrenders to the mercy of the waves.