The brief for this chapter involved stitching layers of fabric with areas of free style textured machine stitchery; patches of fabric were then cut back to reveal the surface below.
These are based on my designs in chapter 2 incorporating the same colours and textures and worked according to the shapes of the cut or torn areas of my designs.
The cutwork in this chapter involves producing a base layer of textured stitching followed by further layers each cut back or melted to reveal the textures below.
Method
The base layer is worked to develop a stitched texture using free machine embroidery. Needle size 100. Feed dog down. Base layers supported from behind by iron on Vilene.
A second layer of fabric is added over which I lay a layer of stitch 'n tear. I drew the shapes to be stitched onto this. I outlined these with straight stitch and then removed the paper.
My outlines marked the areas to be stitched into, leaving areas unstitched which were cut away.
Outline stitching was worked into the texture. Edges were frayed and distressed.
I've uploaded the original designs from chapter 2 for reference before showing the cutwork samples.
Sample 6.1
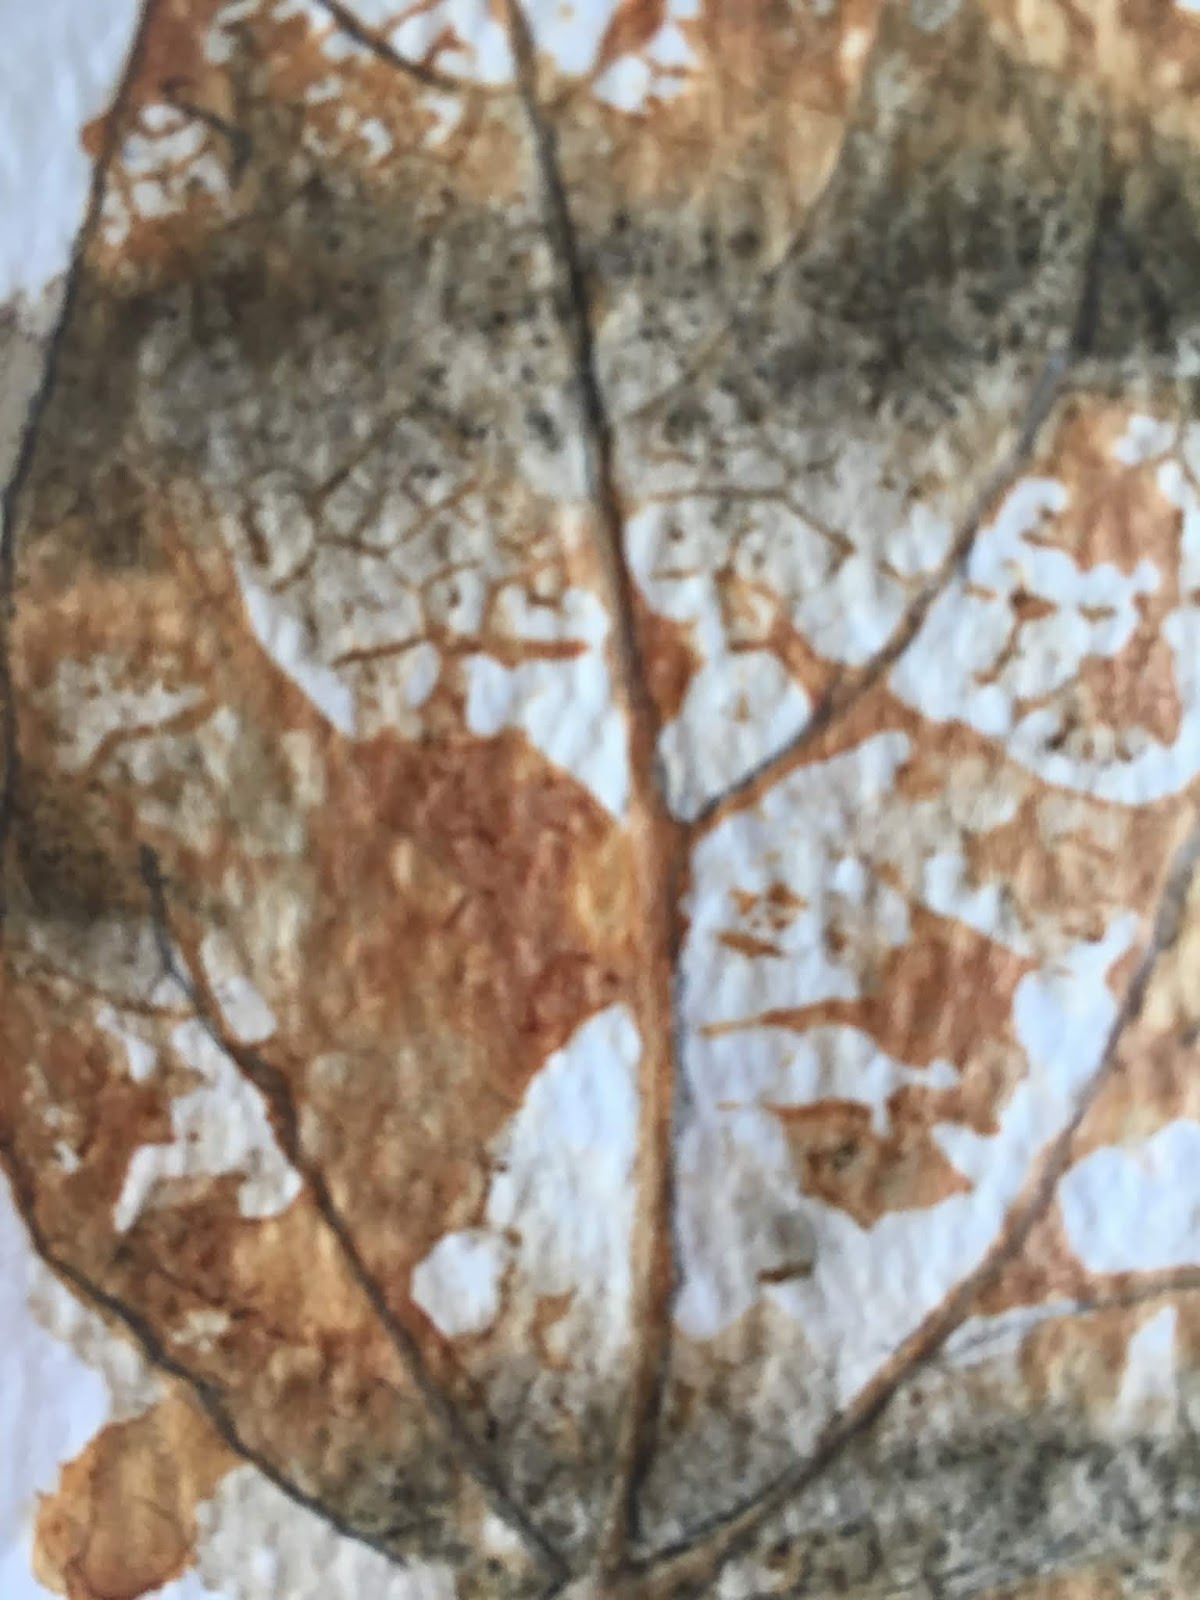
Sample 2.1 original design
Cutwork sample
Base layer
Fabric - space dyed woollen felt
Stitching - horizontally worked free zigzag using cotton thread in teal and turquoise machine thread on lower bobbin. Whip stitch. Stitching worked side to side in free style which beautifully represents watery effects and undulating waves. I added an orange in stranded cotton to the lower bobbin for cable stitched highlights.
Finally I used a crewel wool in teal on the lower bobbin for further cable stitch to emphasise the undulation of the waves, the depth of the water and a sense of movement.This resulted in slight distortion of the fabric.
Second [top] layer
Fabric - Space dyed linen
Stitching Cotton / rayon machine thread in blue, upper and lower bobbins, worked in sideways zigzag. I added a crewel wool in teal to the lower bobbin and worked cable stitch followed by orange stranded cotton for more cable stitch to add contrast and highlights.
Unstitched areas cut away to reveal layer underneath. Edged of fabric frayed and distressed.
Sample 6.2
Sample 2.2 original designs
 Sample 6.2
Base layer
Fabric -
Sample 6.2
Base layer
Fabric - monoprinted cotton organdie
Stitching and threads - Gutterman machine thread worked in circles using a narrow zigzag using 2 shades of darker blue and lighter shades in places.
I left the areas within the circles free of stitch to make the most of the monoprint which accentuates reflecting light.
Second layer
Fabric - Random dyed linen
Stitching and threads True to the colours on my original design and representing deep water I tried to find the right thread but decided in the end to use 2 threads on top through one needle [ a mid and darker blue] with a variegated orange thread on the lower bobbin to pick up the random dyed orange in the fabric - all Gutterman machine threads. I worked this in a sideways zig-zag [ good for watery effects] and a few circles in narrow zigzag to pick up on those in the base layer.I added a bit of metallic [ Madeira Glamour in turquoise] to add reflective effects.
Photo of 2nd layer with the addition of a paper template for the 3rd layer
I hadn't been sure of a 3rd layer but after discussion with Sian at Summer School I reconsidered and thought about the addition of 3rd spiral ripple layer and tried it out with a paper template. I wanted to achieve an effect suggesting a passing ripple - like a shadow on the water
Third layer
Fabric and stitching - cotton organdie [same as the base layer] I lay my fabric on the surface with my paper template over it and carefully stitched the outline. Then I worked in a free circular pattern to reflect the base layer taking care to stitch over the strips from layer 2 and then cutting away the parts of the spiral covering the base layer to reveal the stitching below and produce a fragmented 'ripple'. Delighted with this and thanks to Sian for helping me reach this decision.
Sample 6.3
Sample 2.6 original design
Sample 6.2
Base layer
Fabric Space dyed silk
Stitching I wanted to represent the lozenge shapes on my original design and consulted my stitching samples [ch 3]. I decided upon a straight stitch cross hatched and worked back and forth using whip stitch to provide colour and texture.
Threads 1. Gutterman machine threads in variegated dark blue / teal on lower bobbin and teal on top.
2. Gutterman threads added to lower bobbin in turquoise.
3. Gutterman variegated yellow to lower bobbin and Madeira machine embroidery thread in yellow on top.
This selection used in turn created wonderful puddles of texture and colour.
4. Cable stitch for added texture. The following thicker threads were wound by hand onto a lower bobbin with a loosened tension [ I keep a spare bobbin case especially for this so I don't mess up my best bobbin case kept for dressmaking].
In turn I used stranded cotton in yellow, 4 ply dark blue wool, 4ply threads in blue and green, crewel wool in teal, space dyed cotton perle, space dyed linen threads.
Lovely distortion of the fabric resulted
Second layer
Fabric space dyed silk. I drew the curved lines I desired on the stitch 'n tear and stitched the outlines after which the stitch 'n tear was easily removed.
Stitching I found this challenging and felt reluctant to cover my previous stitching and work blind but realised that I would have to relinquish control and trust the serendipitous outcomes!
Threads I used swathes of Gutterman yellow variegated on the lower bobbin with turquoise on the top and vice versa in whip stitch to create a beautiful blend. I'm pleased with the formation of a lovely yellow / turquoise border and ridge created by the whip stitches at the edges where the work has suddenly changed direction.
On cutting I was delighted and relieved to see the colours blend and dance!
Third layer
Fabric Chiffon monoprinted with bubble wrap which reflected the painted bubble wrap in the original
Stitching I felt I needed to find a way of giving the illusion of lifting this top layer from the page. I wanted drifts of circular stitching I started by drawing more curved lines as desired on the back of the work to give my stitching guidelines
Threads Cotton thread in royal blue in upper and lower bobbin to begin with worked in free straight stitch in circular motions repeated to add definition followed by swathes of turquoise thread in the same fashion. Adding blue over the turquoise seemed to add depth. I needed more texture so I added in some some 'twirls' of royal blue felting wool which seemed to add the drama I was seeking.
Cutting away the top layer emphasized the base layer and the yellow / turquoise outlines of the second layer so I added some 'twirls' of yellow felting wool plus a couple of blue beads which both added a pop of colour. I'm particularly pleased with the distortions of the fabrics caused by layers of stitching. Really pleased with this!
Sample 6.4
Sample 2.7 original sample
Sample 6.4
Base layer
Fabric Synthetic fabric with acrylic paint print using bubble wrap [ fabric printing medium added].
I've taken liberty with the colour scheme with this sample as the base layer in my original design was Quink Ink and Brusho dispersed with bleach. I therefore needed a dark background and chose this dark blue fabric with an apricot and turquoise print. This therefore set the scene for the colour scheme which followed.
Stitching The swirling wave like marks on the original have been portrayed by using a wide zigzag produced by moving the fabric in all directions and at various speeds to produce a diverse patterning. Whip stitch throughout.
Threads 1. Gutterman Sulky variegated machine thread in Apricot on top and apricot below.
2, Turquoise thread in apricot on top and dark blue below.
3. Turquoise on top and apricot below.
I've left threads uncut to add a sense of movement and drama.
Second layer
Fabric Space dyed muslin chosen for it's texture, colour and fraying quantities. Guidelines for stitching drawn on back of the work using horizontal and wave like shapes.
Stitching Lozenge shapes worked in narrow zigzag, I tried to work these in a directional fashion to add rhythm and pattern
Threads Gutterman Sulky variegated thread in apricot on top and below.
Pleasing colourways and shapes revealed on cutting away.
Third layer
Fabric Space dyed cotton organdie with a beautiful deep blue and apricot areas of colour.
Stitching More lozenge shapes worked in a directional fashion with extended threads left uncut.
Threads Variegated threads as before with turquoise on lower bobbin.
Wave light lines of fabric cut away
Fourth layer
Fabric Space dyed scrim. On this occasion I lay the fabric over the top and stitched wave light lines stitched
Stitching Undulating wave like and spiral shapes in zigzag in various width and length followed by cable stitch in spiral wave shapes
Threads 1. variegated apricot and turquoise threads
2. space dyed cotton perle and space dyed linen.
The scrim frayed beautifully and the colours below this and the muslin show through.
Layers 2, 3 and 4.
I worked on this quickly thinking I may have finished ready to discuss with Sian in my tutorial at Summer School.
We both agreed it looked unfinished. Sian suggested more stitching to contain the scrim and finish edgings.
More spiral stitching along the edges to finish the piece
This isn't my favourite piece, complicated by too many similar layers in the original paper design and difficult to tell apart and something I'll bear in mind next time.


