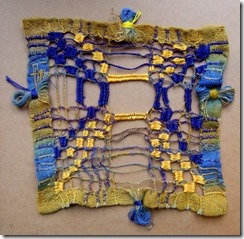
To apply paper pulp to a woven fabric grid
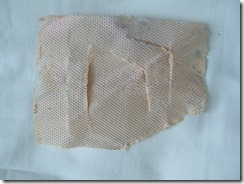
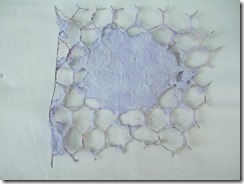
The grid is the weave-structured material to be embedded into a sheet of paper; this could be a piece of linen, cotton or mixed fibre even-weave fabric. We could also use a canvas [plastic or fabric]; a metal mesh, a nylon fabric such as fruit or veg bags or anything else I could find.
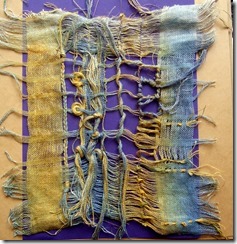
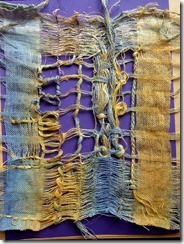
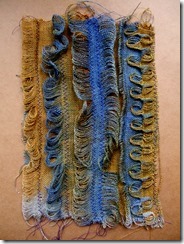
I started by preparing some grids comprising of more pulled thread using my linen scrim as before and kept the withdrawn threads to use in their own right, I included some drawn thread hessian, metal mesh, metallic netting, a plastic mesh used for baking, vegetable and fruit supermarket mesh, netting and a wire frame wrapped with yarn or thread.
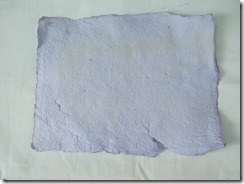
I then prepared some more paper pulp [see ch 4] but this time adding cold water dyes as before. I also included pulp made with cotton linters as I hadn’t tried them before [as an experiment] as well as my own papers.
To start with the drawn thread grids:
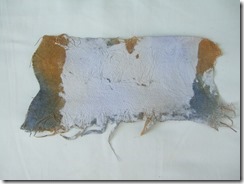
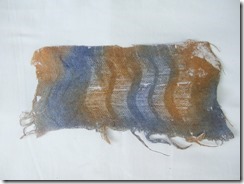
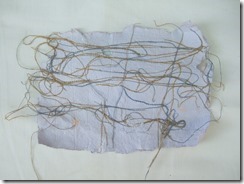
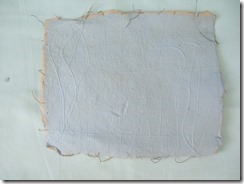
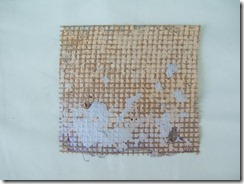
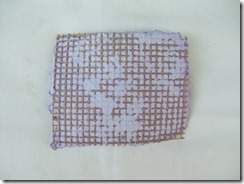
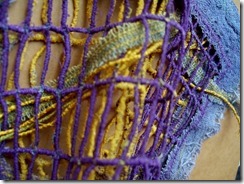
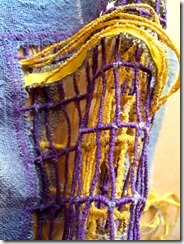
1.My drawn thread fabric was stretched with my hands and scooped into the vat of paper pulp and placed on some kitchen cloth to dry. These pictures show the front and the reverse
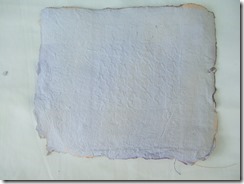
2. The grid has been scooped into the vat and laid onto the kitchen cloth and then a second sheet of paper added to sandwich the grid. The patterns can be seen through the papers.
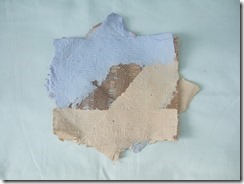
3. Strips of linen scrim arranged onto a piece of freshly made paper and then strips of paper arranged on the top around the edges leaving some strips of fabric exposed. These strips of paper were made by partially scooping the mesh into the vat and laying them down in the usual way
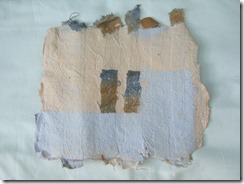
4. Strips of freshly made yellow paper laid around the edges of a grid of linen scrim with threads withdrawn, then turned over and indigo paper laid around the edges. Central grid left exposed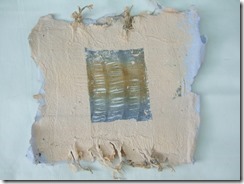
5. Threads laid at random sheet of paper of the paper
6. Threads laid in grid pattern over sheet of paper pulp and covered with more pulp to form a sandwich. Patterns show through
And reverse
7. Strips of paper laid at angles to both sides of hessian with threads withdrawn
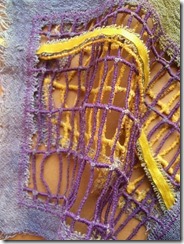
8. Linen scrim with threads withdrawn and Russian Threadwork worked across grid, this was laid over a freshly made piece of indigo paper and then strips of yellow paper laid around edges of scrim on the top
And reverse – lovely patterning.
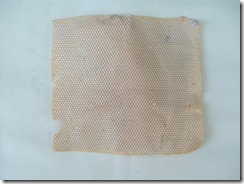
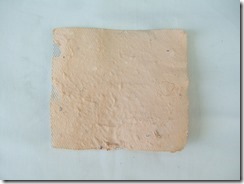
The following materials were used as grids and dipped into the vat
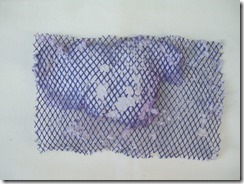
1. Plastic baking mesh
And reverse
2. Wire mesh
And reverse
I tried to withdraw some ‘threads from wire mesh but not possible so I tried cutting it
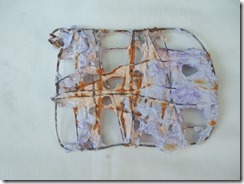
3. Supermarket netting supported by wire frame
4. Chicken wire
5. Cotton yarn wrapped around wire frame
6. Metallic netting fabric
I was disappointed to find that my paper pulps didn’t keep their colour once dry [ I had used left over dyes from a previous session], I e-mailed Sian for advice and she reminded me that the dyes and fixative when mixed has a 4 hour shelf life. I asked could I paint it to give me the pleasure of working with my colours and she replied to use freshly made dye / fixative rather than other paints to give best effect.
Here is the result of one of the samples to demonstrate the effect, I won’t show the rest now . Suffice to say that they’ll feature in chapter 8!
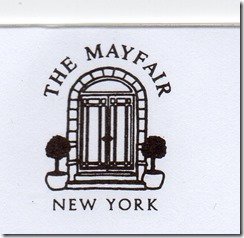
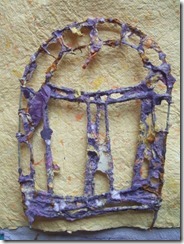
I decided to work to a New York theme and loved the logo on our hotel stationary [quite grid like], I tried to find a way of reproducing this using a wire frame wrapped with yarn and dipping it into the vat
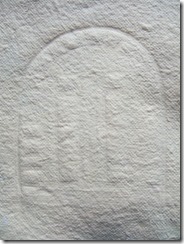
Then I tried a collograph [usually used for printing[ but I thought i might be able to use it for imprinting on a sheet of freshly made paper. Result not brilliant but promising later on….
Chapter 7 complete and ready to move onto chapter 8 but I now felt I wanted to make a few more samples of paper using my chosen colours as I didn’t do so before in chapter 4. I did so using fresh dyes plus fixative but also some using coloured papers in the vat. I also used some more of the cotton linters. The latter have been reported by my colleagues to produce thick and bulky papers, I did in fact blend the linters in the liquidiser an extra time [by mistake] and so produced a beautiful smooth paper. This looked lovely but actually wasn’t a very interesting texture.
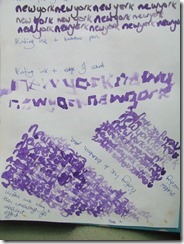
As well as this I felt I needed to try out some of my favourite lettering techniques based on my idea of a New York theme to give me something to work with as I work towards my final project. Because we were in the USA last autumn I tried to combine both letters and leaves bringing in the use of my hand made papers thus working towards the media theme of the module. An opportunity to play with gorgeous colours here!
Lettering ideas:
1. Printing ink and homemade bamboo pen, printing ink and edge of card, blocks of writing using ink and bamboo pen – first block of scribe using new york which is shadowed and at the bottom block of writing which is repeated over and across to produce fabulous patterning.
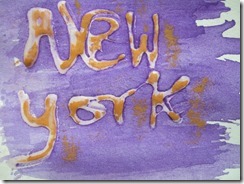
2. Yellow wax crayon over painted with purple ink – shadow written to form patterns.
Then knitting cotton arranged ready for rubbing
3. Rubbings
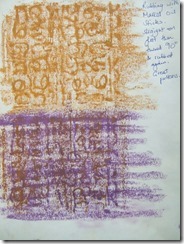
Rubbings with Markel sticks and then turned 90 degrees and rubbed again – abstract results
4. Now my favourite! PVA left and washed with ink before rubbing with Markel Stick
And much more abstract / patterned
Encouraged by these I decided to try these on some of my new hand made papers
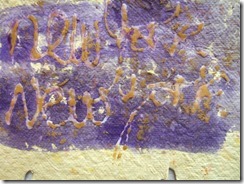
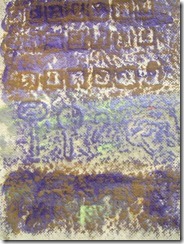
I decided to use the Markel Sticks and ink on my new samples of imprinting
and then added ink
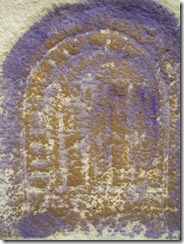
Hotel logo
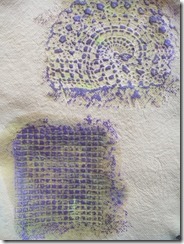
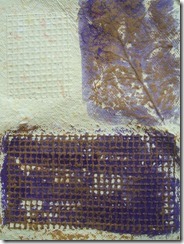
Laminated patterning [plastic baking mesh and leaf]
Letters and leaves
Pressed Maple and American Oak leaves
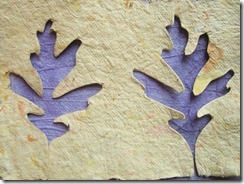
Paper leaves [shape cut out with scissors] with an original pressed one
Lovely negative patterns
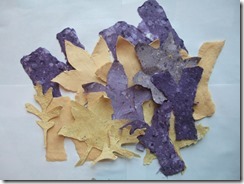
Lots of paper leaves [shapes made like the letters in chapter 4]
Letters made as per chapter 4
Letters and leaves
Very pleased with these samples and pleased that I have new and extra samples to refer to.
